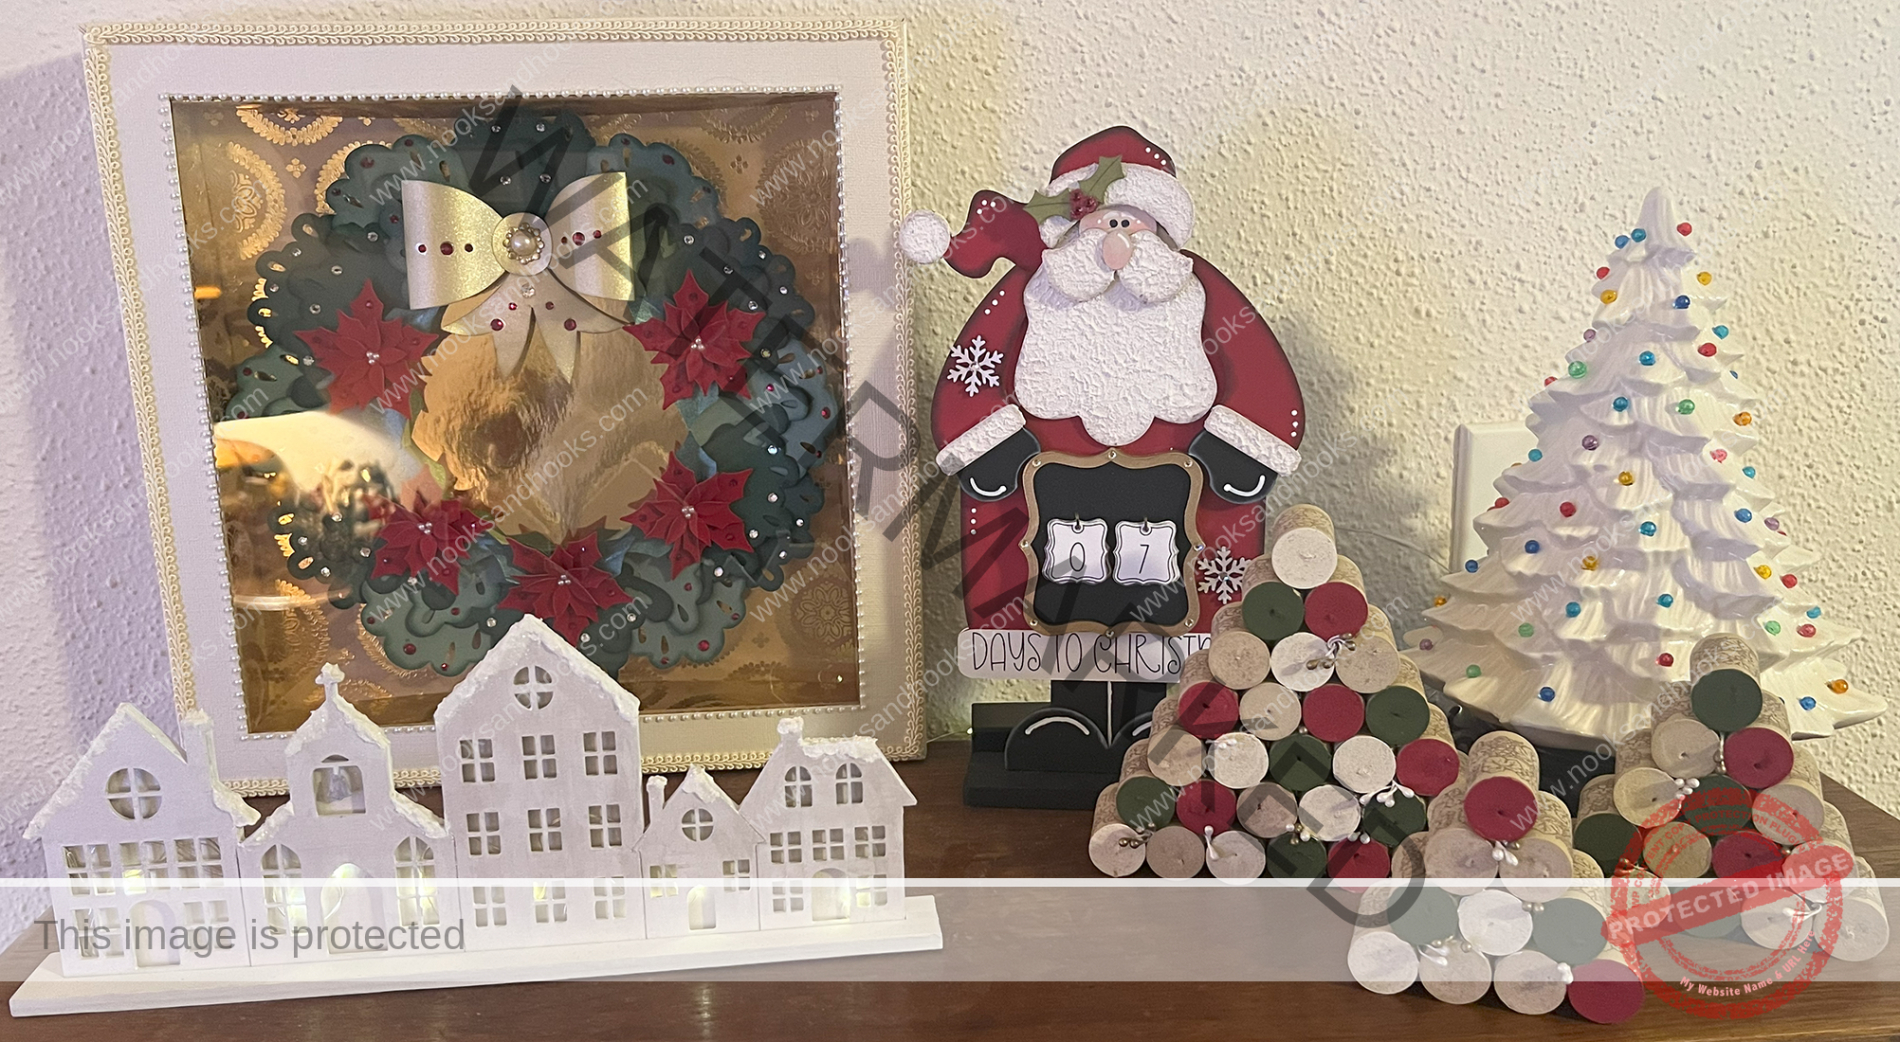
I found this pattern at a store on Etsy called OB Design Co by Jamie. Jamie’s pattern is detailed with pictures and it also has a few different models on how to create this Christmas Village. You can choose to use a tealight or a string of fairy lights. There are no written instructions on how to put this together but the files are self-explanatory. This file as is available in SVG and PDF formats and can be used with a cutting machine. I used my XTool M1 Laser cutting machine to create this cute village. I am only reviewing the fairy light version and how I created this version.
Finished size: 11.5” wide x 5” tall this includes the base.
Let’s Begin…
Supplies used:
- 3mm (
1/16th inch) basswood
- Acrylic Paints:
- Snow White (DA01) by Deco Art Americana
- White Pearl (DA117) by Deco Art Dazzling Metallics
- Shimmering Silver (DA070) by Deco Art Dazzling Metallics
- Ranger Grit Paste (Opaque) by Tim Holtz
- Crystal Fine Glitter by Martha Stewart
- Mod Podge Matte finish
Other Supplies needed:
- Craft knife
- Pallet Knife
- Gorilla Wood Glue
- Fairy Lights
First, cut your structure with your Xtool machine according to the material specifications and your preferred sizing. You will only need to score and cut no matter what your machine of choice. Option: You could also use your Cricut Maker and your preferred material of choice, but I would recommend Cricut heavy 2mm chipboard with some minor adjustments to the file in order to create the same look if you don’t want to use wood. I also recommend, save cutting the base until your main structure is fully constructed.

Once you have your pieces cut, then lightly sand all your wood pieces, do a test fit sandwich with the lights in between; there should be a little groove on the back piece to where your wire can feed out. At this point measure the thickness of your structure so you can determine the groove thickness for your base.


Note: The groove is only for the fairy light version. Also, if you find that it is difficult to insert your fairy lights you can cut the middle section of the structure out of 1/8th inch basswood or you could layer 2 pieces of the 1/16th inch basswood to give you that little bit of extra space needed. This will also change the groove width for the base if you add any additional spacing or change the thickness of the wood.
Next apply the snow-white paint as a base coat to all your pieces and let that dry. Glue the back and middle sections together and let dry. Now, go ahead and paint everything with the white pearl and paint the bell with shimmering silver. Subsequently, layer and glue the 3 main structure pieces together to create a sandwich; additionally, sand and even up your edges and do any touch up painting.

As for the base, I created 3 layers which consisted of the bottom layer (a solid piece) and then the 2 grooved ones. Test your main structure to make sure the thickness will fit into the groove and adjust accordingly. Finally, sand and glue your base together with your wood glue, let dry and paint. Note: do not let any glue pool or drip down into the groove. Also, do not let any paint get into the groove as it will make your main structure stick and it will be difficult to remove later for storage purposes. At this time, you should not glue your main structure into the base because you will not be able to get your lights in and out of the base.

Finally, let’s create the snow top finishing. This is the fun part, using a pallet knife apply the opaque grit paste on the roof peaks and any areas that you may want to have a snow effect; this can include the base. Let dry completely for about 30 minutes. When you are ready, apply your mod podge over the grit paste. This is where you might see a reaction with the grit paste and it will cause it to puff up like puffy paint and it could look a little bubbly. Promptly apply your white glitter and shake off any excess and let dry overnight. Now you can sit back and enjoy your lovely creation. I hope this little tutorial inspires you to create your own beautiful Christmas Village. Again, if you would like to make this file you can purchase this design on Etsy at OB Design Co by Jamie.


Leave a Reply
You must be logged in to post a comment.